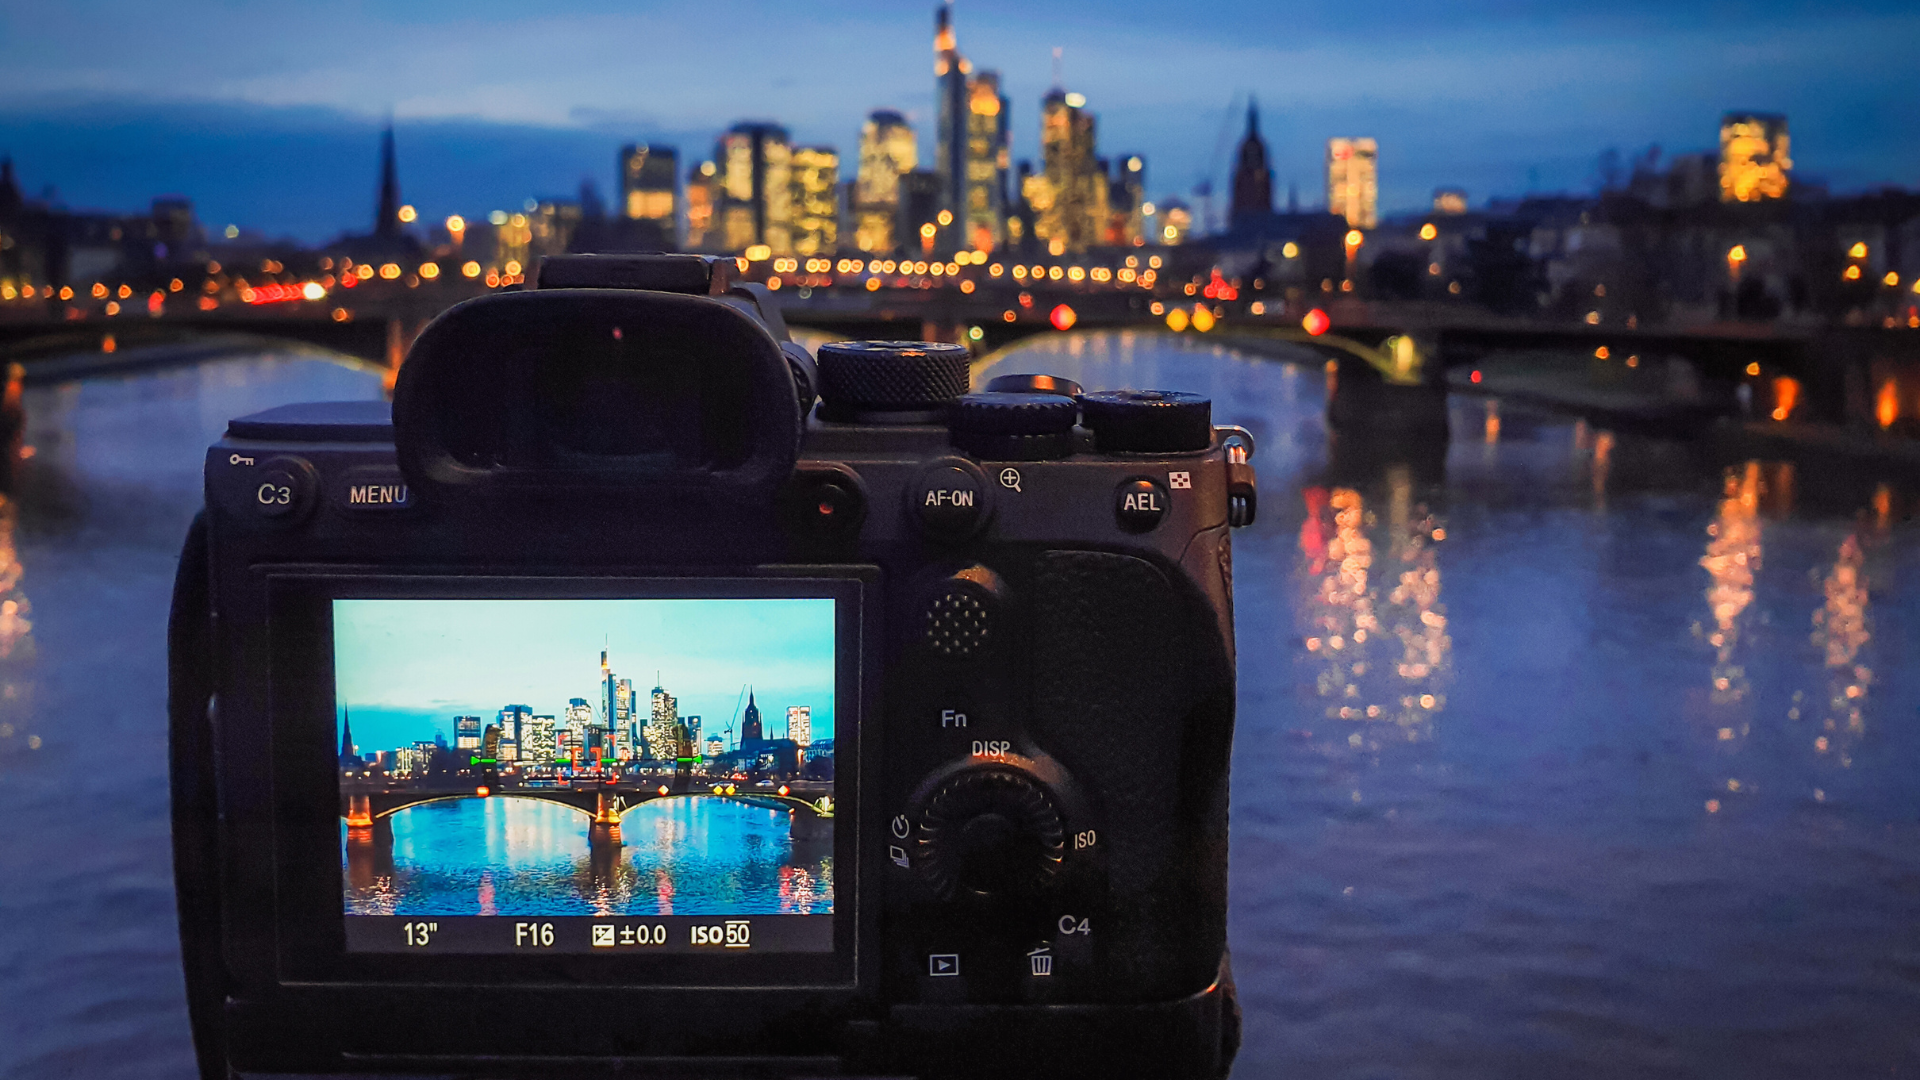
Shooting in low light presents unique challenges that can test a photographer’s skill and creativity. Utilizing a combination of wide apertures, slow shutter speeds, and high ISO settings can significantly enhance the outcome of low-light photography. These techniques not only compensate for the lack of available light but also open up new opportunities for artistic expression.
Many photographers struggle with blurry images or grainy results when working with dim lighting. By experimenting with stabilization tools such as tripods or image stabilization features, they can achieve sharper images, even in challenging conditions. It’s essential to understand how to adjust camera settings effectively to capture the desired mood and detail in every shot.
Moreover, exploring unconventional light sources, such as street lamps or neon signs, can add depth and interest to low-light compositions. Photographers can enrich their storytelling by integrating these elements into their work, demonstrating that low-light environments can yield captivating visual narratives.
Understanding Camera Settings for Low Light
When shooting in low light, adjusting camera settings is crucial to achieving clear and well-exposed images. Key settings include ISO, shutter speed, and aperture, which all work together to ensure that the camera captures enough light.
Mastering ISO Settings
ISO controls the sensitivity of the camera’s sensor to light. In low-light conditions, increasing the ISO can help capture more light.
- Choosing ISO Values: Common settings are 800, 1600, or even higher, depending on the camera’s performance.
- Noise Considerations: Higher ISO settings often introduce noise, which can degrade image quality. To minimize this, find the highest ISO your camera can handle without excessive noise.
- Testing in Situations: Experimenting with different ISO levels in low-light scenarios helps photographers find the optimal setting for their gear.
Adjusting Shutter Speeds
Shutter speed determines how long the camera’s sensor is exposed to light.
- Slower Shutter Speeds: To let in more light, photographers can use slower shutter speeds, such as 1/30 or 1/15 seconds. However, this increases the risk of motion blur.
- Stabilization Techniques: To combat this, using a tripod or stabilizing techniques is essential. This allows for longer exposures without introducing shake.
- Lighting Techniques: Using additional light sources or even ambient light can aid in achieving the right exposure without sacrificing quality with slow shutter speeds.
Setting Aperture Effectively
Aperture controls the amount of light entering the lens and affects depth of field.
- Wider Aperture Values: In low light, using a wider aperture (e.g., f/1.8 or f/2.8) allows more light, making it easier to obtain a good exposure.
Depth of Field Considerations: Wider apertures will yield a shallower depth of field, which can be creatively beneficial but might also lead to less of the scene being in focus. - Lens Selection: Fast lenses with wider maximum apertures are advantageous for low-light photography, offering better options for depth and exposure balance.
Balancing the Exposure Triangle
The exposure triangle consists of ISO, shutter speed, and aperture, which all interact to achieve proper exposure.
- Interdependency: Adjusting one setting impacts the others. For example, increasing the ISO may allow for a faster shutter speed but could introduce noise.
- Why Manual Mode: Engaging manual mode gives photographers greater control over each setting, enabling them to balance the exposure triangle effectively based on the shooting conditions.
- Dynamic Adjustments: Learning how to quickly adjust each aspect of the triangle based on ambient light conditions is essential for successful low-light photography. Understanding this balance leads to better decisions in challenging lighting situations.
Equipment Choices for Enhanced Low-Light Photography
To capture stunning images in low light, selecting the right equipment is essential. The choices made regarding tripods, lenses, and lighting can significantly impact image quality and photographer’s success.
The Importance of a Quality Tripod
A sturdy tripod is critical for low-light photography. It stabilizes the camera, allowing for longer exposure times without the risk of camera shake.
Lightweight tripods are convenient but may not provide the necessary stability. Investing in a quality tripod with a robust build ensures sharp images when the shutter is held open longer.
Photographers can also benefit from using a remote control to trigger the shutter. This minimizes vibrations, ensuring clearer images.
Choosing Fast Lenses
Fast lenses are vital in low-light situations. They feature wide apertures, typically f/2.8 or faster, allowing more light to reach the sensor.
Prime lenses are highly regarded in low-light scenarios due to their superior optical quality. They often boast wider apertures and provide better performance than zoom lenses at similar focal lengths.
When selecting fast lenses, photographers should consider the lens mount compatibility with their camera body. Investing in one or two quality fast lenses can enhance performance in challenging lighting conditions significantly.
Utilizing External Light Sources
External lighting sources can dramatically improve exposure in low-light environments. Speedlights and strobes provide flexible lighting options and can be adjusted according to the scene.
Using an external flash allows for better control over lighting, reducing the harsh shadows often produced by built-in camera flashes. Photographers can also utilize natural light sources, such as streetlights or moonlight, creatively while enhancing their overall composition.
Traveling with portable light sources ensures versatility for various scenarios. Incorporating these sources can elevate the quality of low-light photographs significantly.
Benefits of Image Stabilization
Image stabilization technology plays a vital role in low-light photography. It helps reduce blur by compensating for small movements during handheld shooting.
Cameras equipped with in-body stabilization or stabilized lenses allow for sharper images in dim environments. This feature is especially beneficial for capturing subjects in motion.
Photographers should explore options with advanced stabilization systems. Such systems enhance the ability to shoot at slower shutter speeds without sacrificing image quality.
Creative Techniques in Low Light Photography
Capturing images in low light presents unique challenges and opportunities. Photographers can enhance their work by experimenting with light and shadow, focusing manually, and utilizing long exposure techniques. Each method offers distinctive benefits for creating striking images.
Playing with Light and Shadow
In low light conditions, the contrast between light and shadow becomes pronounced. Photographers can use this to create dramatic effects. Natural light from street lamps or artificial light sources can produce compelling highlights against dark backgrounds.
By positioning subjects strategically, they can maximize the interplay of light and shadow. Utilizing reflectors can direct light onto the subject, enhancing details and texture.
Shadows can also tell a story or convey mood, adding depth to the composition. Mixing different types of low light conditions—like soft ambient light and harsher artificial sources—can add complexity to the image.
Achieving Sharp Photos with Manual Focus
In low light, autofocus systems may struggle, causing images to be out of focus. Switching to manual focus allows photographers to select the exact focal point, ensuring sharp photos. This technique is particularly useful for subjects requiring precision.
Using tools like focus peaking can make manual adjustments easier, allowing for fine-tuning of depth of field. Photographers should practice this skill to become adept at identifying key focal points in challenging lighting.
A tripod may also support steady shots, minimizing blur from camera shake. With practice, manual focus becomes an invaluable tool in low-light environments.
Exploring Long Exposure Photography
Long exposure photography is a powerful method for capturing low light scenes. By using a slow shutter speed, the camera can gather light over an extended period. This creates stunning effects, such as smooth water surfaces or light trails from moving subjects.
Reducing the camera’s ISO setting minimizes noise, ensuring that the final image remains clean and detailed. Neutral density filters can also allow for longer exposures without overexposing the image.
Photographers can introduce intentional motion blur to convey movement, adding dynamic elements to still images. Long exposure can reveal aspects of a scene that may go unnoticed at a faster shutter speed, enriching the visual narrative.
Post-Processing Strategies for Low-Light Images
Post-processing is essential for enhancing low-light images captured with digital cameras. Utilizing RAW format when shooting allows for greater flexibility during editing.
Noise Reduction Techniques
Low-light images often exhibit noise. Effective noise reduction can be achieved by:
- Using software like Adobe Lightroom or Photoshop.
- Apply noise-reduction filters to smooth out grainy areas.
- Adjust the luminance and color noise sliders carefully.
Adjusting Exposure and Contrast
Increasing exposure and contrast can help reveal details lost in shadows.
- Utilize a histogram to see the image’s exposure.
- Adjust exposure levels in post-processing to bring out hidden details.
Sharpening Details
While enhancing sharpness, it is vital to apply it selectively:
- Use sharpening tools to focus on important elements.
- Avoid over-sharpening, which can introduce artifacts.
Enhancing Colors
Colors can appear muted in low light. Adjusting saturation and vibrancy can help:
- Increase the saturation for a more vivid look.
- Use vibrancy to enhance colors without affecting skin tones excessively.
Incorporating these strategies significantly improves the quality of low-light images. Attention to detail during post-processing will yield professional results.