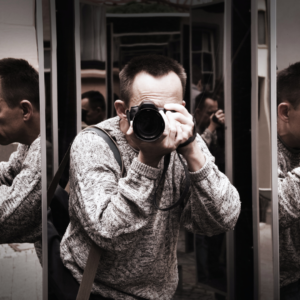
If we’re looking for a way to capture stunning photos that are sure to impress, we need to learn about panoramic photography. This type of photography is based on taking multiple shots that have been stitched together into a single, large image. Not only does this give us a wide perspective of our surroundings, but it can also create beautiful scenes that would be impossible to capture with just one photo. This blog post will look at the basics of panoramic photography and show us how to create stunning panoramic photos.
Introduction to Panoramic Photography
Being a lover of landscapes and nature, then panoramic photography is something we should be taking more of. Panoramic photos are simply photos that span 360 degrees around the camera’s field of view. This type of photography can be incredibly capturing and provide a unique perspective not available from any other type of photo.
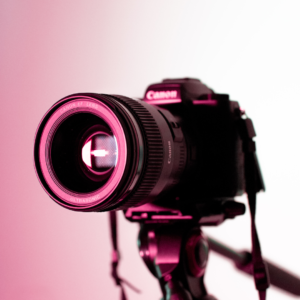
The camera must have an effective wide-angle lens (24mm or wider). That can take multiple exposures, essential for stitching the photos into a single panorama. Remember that each panorama will take up about 2GB of space on our memory card.
Once we have all the necessary gear, it’s time to start! Set the camera up in landscape orientation and ensure that the horizon line is lined up perfectly in the center of the frame. Take several shots at different focal lengths to get a variety of perspectives in the photo. Once we have a few good pictures, start merging them using software like Adobe Photoshop or GIMP. Experiment with different blending modes and filters until we achieve the desired look.
The Importance of Overlapping Images in Panoramic Photography
Panoramic photography is a prevalent form that captures a vast, 360-degree view of an environment. The technique can capture beautiful landscapes, seascapes, cityscapes, and even interior spaces.
One of the essential aspects of panoramic photography is ensuring that the images are correctly aligned to create a seamless image. This means that each image must overlap to create the full 360-degree view. Incorrect alignment can lead to distorted views and poor-quality photos.
Overlapping images also help to reduce the amount of data needed for a panoramic photo. Fewer data needs to be captured to create a high-quality photo. This saves on storage space, reduces processing time, and allows more images to be captured in a single session.
The Techniques of Capturing Panoramic Photos
Many different techniques can be used to capture panoramic photos. The key is to find a method that works best for us.
The Rule of Thirds
This technique involves dividing the photo into thirds by drawing lines from the center of the lens out to the edge of the photo. Look for exciting subjects or features in each third, and try to compose the shot so that these elements are in focus.
The Overhead Shot
One common way to take a panoramic photo is to stand above the scene and take a photo with the camera overhead. This gives us a more expansive view of the scene, but getting good shots without getting dizzy or having the tripod fall over can be challenging!
The Close-Up Shot
Another option is to use a close-up lens on the camera to capture a more detailed view of the scene. This can be helpful if we want to include small details in the panorama or if we want to avoid having too much background clutter.
The Time-Lapse Shot
A time-lapse shot is simply a series of photos taken over some time, typically minutes or hours, to create an extended timeline that shows how things change over time. To create a time-lapse shot, start by setting up the camera and tripod in a specific location, wait until a scene looks natural, and capture a series of photos using a timer.
The Wide-Angle Shot
Sometimes, it’s helpful to capture a panoramic photo with a wider angle lens than usual. This can compress the scene into more manageable proportions, making it easier to stitch together into a seamless whole. However, be sure to use proper perspective when deciding how to compose the shot; Distortion of the subjects is possible if the lens is too wide.
The HDR Shot
HDR (high dynamic range) photos are one of the most versatile panoramic photos because they can capture both bright and dark areas in the same shot. To create an HDR photo, start by taking several normal shots of the scene, then use software like Adobe Photoshop to merge them into a single image showing more detail in light and dark areas.
360 Degrees of Beauty
Capturing a breathtaking 360-degree panoramic photo of a beautiful landscape might seem challenging, but it becomes more achievable with an affordable 360 camera. Consider acquiring one and investing time in learning how to use it effectively. With the right camera and proper techniques, you’ll find yourself easily capturing stunning views that will become cherished memories for years to come.
Stitching Techniques for Creating Panoramic Photos
Many stitching techniques can be used to create panoramic photos. The most common is to stitch a series of photos together using a program like Adobe Photoshop or GIMP. Other stitching techniques include using specialized software, such as Stitcher and TopoStitch, or hand stitching the photos together.
Regardless of the technique used, it is essential to consider the design goals of the panorama before starting to stitch. It’s important to think about the final photo’s width, the amount of distortion, and the desired aesthetic. Once these goals are determined, starting stitching the photos together is easy.
Once the photos have been stitched together, it is essential to ensure they are level by adjusting each photo individually or using a leveling tool like Autofocus Magic Leveler. Then, it is time to add finishing touches (like text or graphics) and publish the panorama online or print it out for display.
Panoramic Photography in Different Environments and Conditions
Panoramic photography involves taking photos that stitch together to form a wide-angle image. The resulting photograph can be breathtaking, capturing a beautiful landscape or scene from a high-up vantage point or from a wide angle that gives viewers a sense of depth.
When setting up a shot for a panoramic photograph, it’s essential to consider the surrounding area and lighting. If we’re filming in a wide open field, we should wait until sunrise or sunset to get the best possible lighting and color. If we’re shooting in a cityscape, try to find a spot with good lighting and take photos at different times of the day so that the shadows and highlights play off each other perfectly.
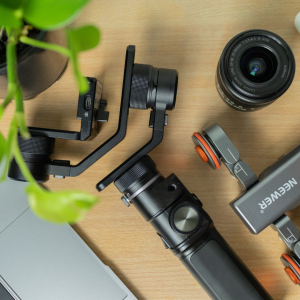
An accurate camera and plenty of batteries are necessities while taking a panoramic photograph, regardless of the weather or lighting conditions. Many memory cards are essential if we plan on shooting panoramas, as this type of photography can be time-consuming.